Jalebi, with its mesmerizing spiral shape and delightful sweetness, has secured its place as one of India’s most cherished sweets. Whether enjoyed at festivals, weddings, or simply as a treat, the allure of jalebi is hard to resist. In this article, we’re unlocking the secret to crafting perfect jalebis in the comfort of your kitchen.
Ingredients You’ll Need
To embark on your jalebi-making journey, gather these basic ingredients from your pantry: all-purpose flour, yogurt, saffron, baking powder, ghee, sugar, and water. The beauty of jalebi lies in its simplicity, as these common staples come together to create a magical dessert.
Preparing the Batter
Creating the jalebi batter is the first step to mastering this art. Mix all-purpose flour, yogurt, saffron, and a pinch of baking powder to achieve a smooth and lump-free batter. Allow it to rest; the secret here is patience.
Fermenting the Batter
The batter’s magic happens during fermentation. Leave it covered in a warm spot for a few hours, letting nature work its wonder. If you’re in a cooler climate, consider using an oven with the light on to create the ideal temperature for fermentation.
Making the Sugar Syrup
The sugar syrup plays a pivotal role in bringing out the jalebi’s sweetness. Cook sugar and water until it forms a sticky, flavorful concoction. The syrup’s consistency is key; it should be neither too thin nor too thick.
Pouring and Frying
This is where the real fun begins. Heat ghee or oil in a pan, then use a cloth or squeeze bottle to create that iconic jalebi shape. The sizzling sound as the batter meets the oil is music to any jalebi lover’s ears.
Frying to Golden Perfection
Fry the jalebis until they turn a glorious shade of golden. The aim is a delicate balance: crispy on the outside, soft on the inside. Maintain the oil temperature for a consistent outcome.
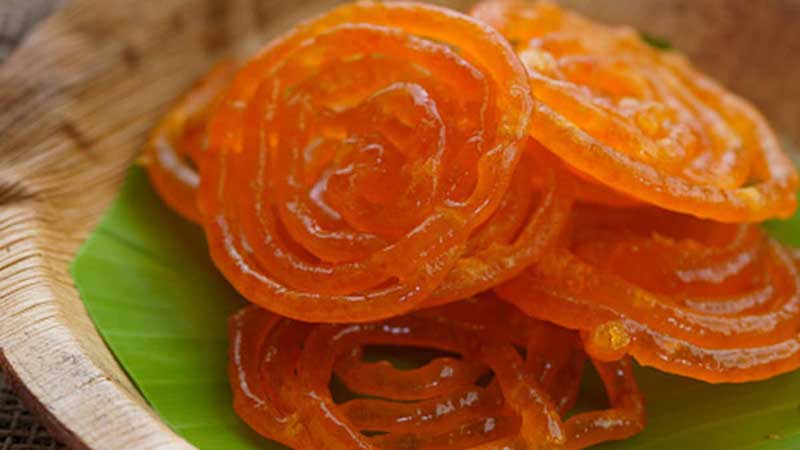
Soaking in Syrup
As soon as the jalebis leave the hot oil bath, let them bathe in warm sugar syrup. The jalebis will soak in the sweetness, becoming infused with the flavors of the syrup.
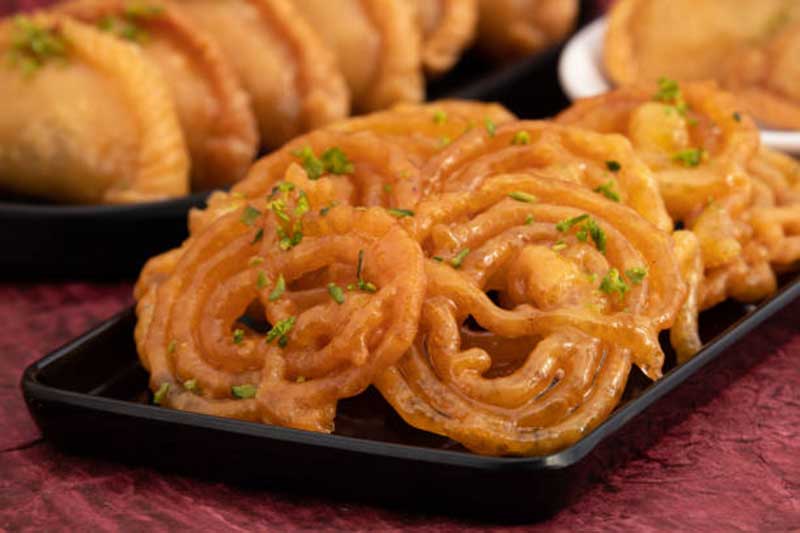
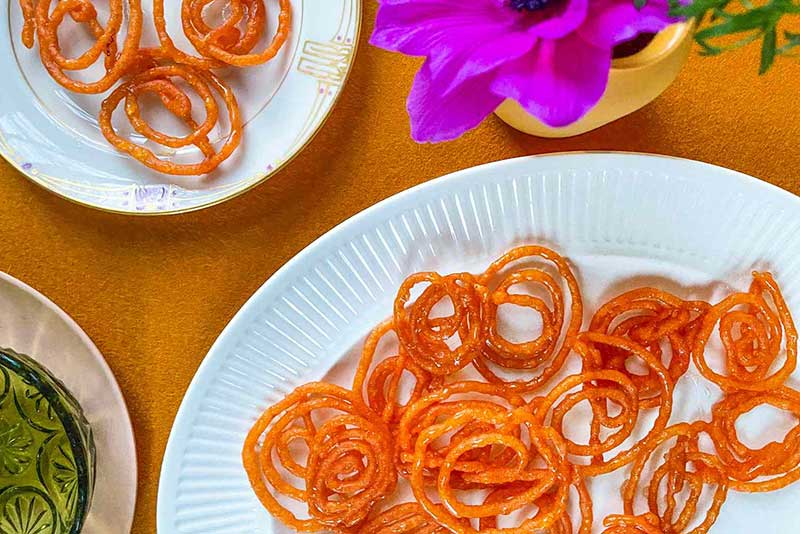
Garnishing and Serving
Elevate your jalebi presentation with chopped nuts, saffron strands, or a sprinkle of edible rose petals. These embellishments not only add visual appeal but also contribute to the taste.
Tips for Beginners
If you’re a first-timer, don’t fret. Jalebi-making might seem intricate, but with practice, you’ll master it. One tip: control the batter flow for a consistent jalebi shape.
Experimenting with Flavors
Why not embark on a flavor adventure? Add rose water or cardamom to the batter for a twist. The possibilities are as vast as your imagination.
Healthier Alternatives
For health-conscious individuals, whole wheat flour and alternative sweeteners are viable options. Keep in mind that taste and texture might vary.
Jalebi’s Cultural Significance
Jalebi isn’t just a sweet; it’s woven into India’s cultural fabric. From Diwali to weddings, jalebi has a presence that transcends generations.
Conclusion
Creating homemade jalebi is a journey of patience, passion, and a touch of culinary magic. The next time you savor a homemade jalebi, remember the joy of crafting it with your own hands.
FAQs (Frequently Asked Questions)
Can I use whole wheat flour for jalebi batter?
Absolutely! Whole wheat flour can be a wholesome choice, though it might slightly alter the texture.
Why is fermentation important in this recipe?
Fermentation develops the batter’s flavor and texture, resulting in the characteristic softness of jalebis.
Can I use a different type of sweetener for the syrup?
While traditional sugar works best, experimenting with alternatives like honey is possible. Be mindful of flavor changes.
What’s the best oil for frying jalebis?
Opt for an oil with a high smoke point, like vegetable oil or ghee, for optimal frying results.
How long can I store homemade jalebis?
Jalebis are best enjoyed fresh. If stored in an airtight container, they can last a day or two but may lose their crispiness.